
 | |||||||||||||||||||||||||||||||||||
| Root Bound 'Mini-Man' Viburnum (new plant from Fort Collins Wholesale Nursery) |
But what if the roots are compacted in the container?
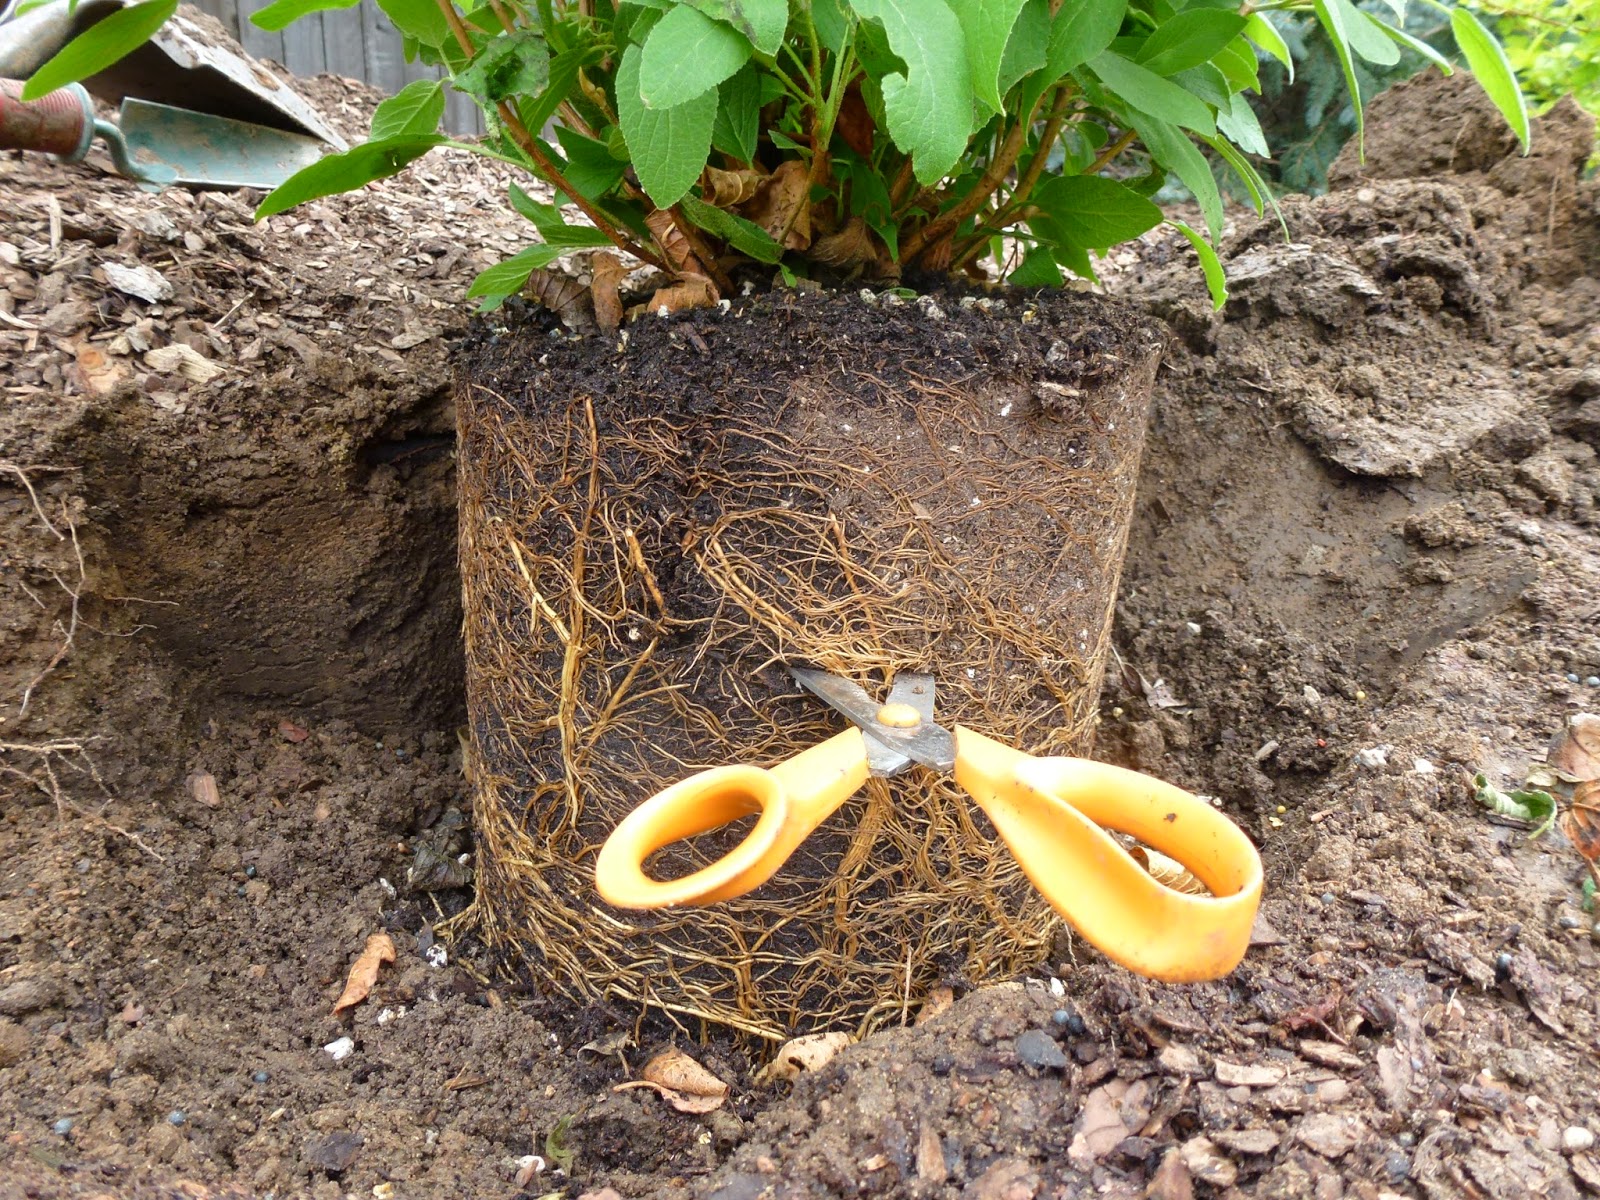
You can see from the photos that this viburnum is well established in the growing pot, not a deal breaker what so ever, this is what they do, how they grow in a small environment like a container. Often you'll see this in the garden center with annuals and other plants, even to the point where roots are coming out of the bottom of the container, again, no worries.
What to do. It's easy, you want to break up the circled roots so they will reach out into the soil and not continue playing ring around the root ball in the planting hole. Use scissors for larger plants (one gallon or larger), a knife or hori hori http://en.wikipedia.org/wiki/Hori_hori. The side of the plant tag is usually strong even to score the sides of smaller 2-3 inch size containers.
In my example I used scissors and made cuts on four sides and the bottom. Done, it's that simple. I made sure the new guy has a drip emitter going to the root area, then filled in around with my native soil and some compost. If it's a really large plant or tree I would fill in soil gradually, then water in between soil layers, this ensures that the root ball gets completely watered in the planting hole. Finish it off with a 2-3 inch layer of wood mulch. Native plants and rock garden plants prefer rock mulch, so adjust accordingly.
 | |||||||||||||||||||||
Scissors to Score or Cut Plant Roots
|


")

")


0 komentar: